

How To Clean Oyster Shells For Decoration
As an Amazon Associate nosotros earn from qualifying purchases.
If you lot are a deeply submerged person in the dazzler of craft, then this article is for you. Oyster shells are known for their various uses in the craft. But earlier using them for the craft, y'all need to make clean them for hygiene; now, we will talk virtually how to clean oyster shells for the arts and crafts.
Contents
- How To Clean Oyster Shells For Crafts
- Materials You Need To Set
- Step one: Opening Up The Oyster Shells
- Step 2: Rinsing The Shells With Water To Remove Sand And Dirt
- Step 3: Dipping The Oyster Shells In A large Bucket
- Step 4: Creating The Cleaning Solution
- Step 5: Soaking The Oyster Shells Into The Solution
- Precautions To Take While Dipping The Oysters
- Pace 6: Scrubbing And Cleaning Of The Oyster Shells
- Other Pointers:
- Frequently Asked Questions
- Volition It Be Safe To Reuse Oyster Shells?
- Can I Eddy Oyster Shells During Cleaning To Sanitize Them?
- Determination
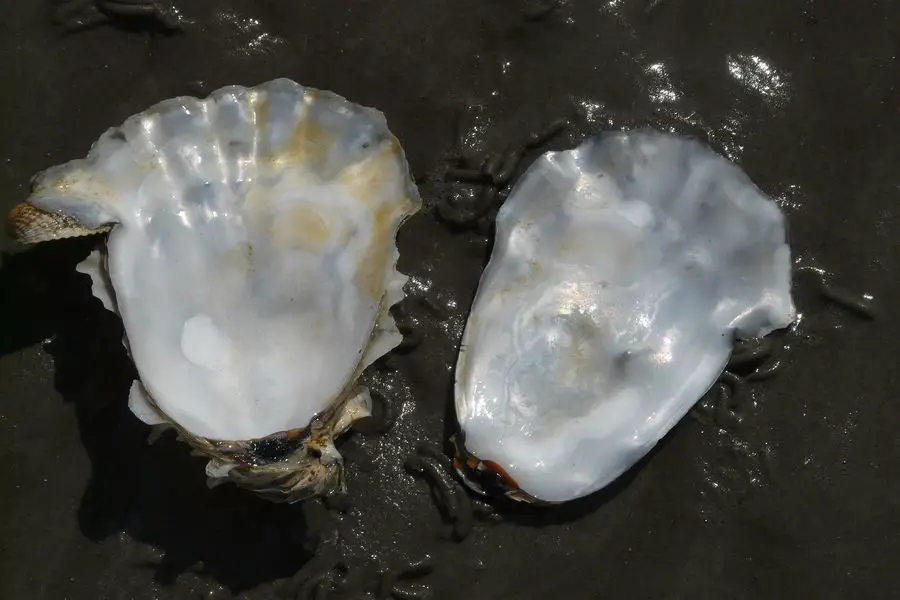
How To Clean Oyster Shells For Crafts
Oyster shells can create beautiful gifts, equally they requite this antique look and serve as an excellent item for home décor. However, earlier using them for craft, it is essential to perfectly make clean and shine them to provide the best await to your product of difficult work.
Materials You Need To Gear up
Earlier moving on to the cleaning, at that place are various materials that you need to keep close to yourself. If you have the right ingredients, cleaning oyster shells might be easier than cleaning sheepshead and turkey necks, the cleaning process becomes easy and seamless and brings better results.
Thus here is the listing of the materials y'all need to prepare before you lot move on to the cleaning process:
- A few big buckets for cleaning, dipping, and storing the oyster shells.
- A bottle of bleach: the quantity might change according to the number of shells you are dealing with.
- H2o for creating solutions and rinsing off the dirt.
- A hard bristled brush to scrub off the dirt from the oyster shells.
- A microfiber cloth to identify the oyster shells while drying them into the sun.
- Some baby oil to rub for the smooth and polish texture of the oyster shells.
- The materials mentioned to a higher place are easily available in the marketplace and are quite pocket friendly. Make sure you wear protective gloves before y'all start to clean.
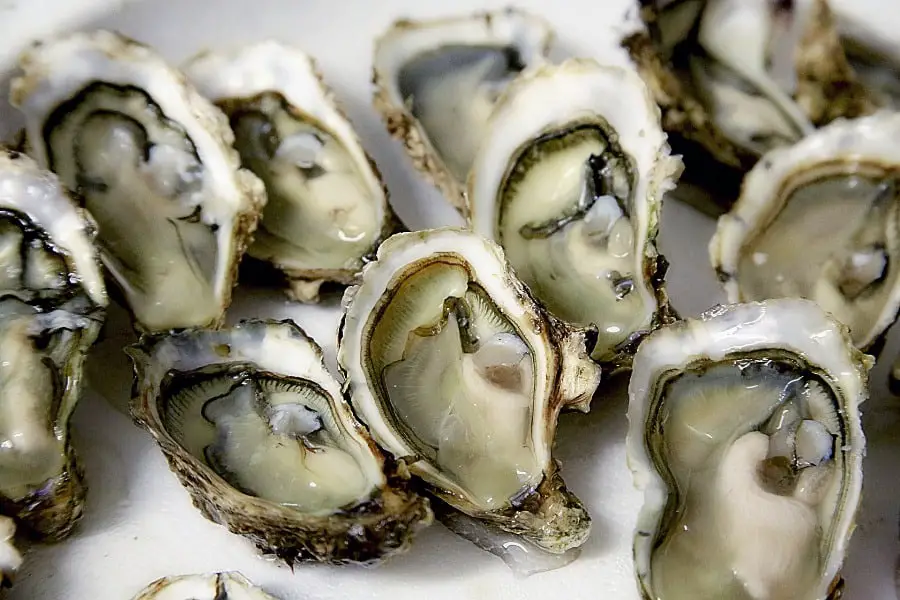
Step 1: Opening Up The Oyster Shells
The oyster is usually in closed shells. Thus you accept to starting time with opening up the oyster shells commencement. Place the oyster on any non-slippery surface and put the knife in the space betwixt the two shells.
Twist and pop open the shells, remove the meat from it, be careful to consider these pointers while going almost the process.
- The meaty part of the oyster is quite glace; make sure yous practise not apply much force per unit area, every bit you might hurt yourself.
- You can either throw abroad the meaty part or consider eating it.
- The process is a chip frail and slippery; thus, consider wearing whatever protective gloves to protect your hands from the knife and sharp edges.
Do not be hasty when information technology comes to cut, twisting, and cutting the meat. Take your time. The motion while cutting the meat should exist swift and soft, do not apply whatever extra pressure.
Stride two: Rinsing The Shells With Water To Remove Sand And Clay
Once the oyster shells are opened up, it is time to start cleaning the shells. The adjacent stride is rinsing the shells with water to remove sand and dirt, make certain to check if there are pearls inside; hither are the steps that you volition need to follow:
- Take a saucepan and fill information technology with water; make sure yous rinse outside the firm, as the smell tin can be actually stiff and uncomfortable.
- Utilize a mug and pour water on the oyster, and rinse them well.
- Remove whatsoever blazon of loose sand or dirt from the shells to make the side by side pace quite easy.
- Scrub a fiddling with your hands, no demand for any extra scrubbers.
Rinsing of the oyster shells might leave some really bad olfactory property within the house. Thus it is advised to do this pace outside the house then that the aroma of the house is not compromised, try an open infinite like your deck to go along the scent abroad from your house.

Step 3: Dipping The Oyster Shells In A large Saucepan
Later rinsing the oyster shells, you need to store them in the water not to lose their freshness and lustrous look. Thus the next step for cleaning would be dipping the oyster shells in a large saucepan for storage:
- Take a big bucket and fill it with some clean water.
- One time you are done rinsing the oyster shells, you tin direct put them into this bucket.
- Identify the oyster shells, make sure you do not crack any of the oyster shells.
Using a clean sink or bathtub is not recommended at all, as in that location will exist a potent odor in the room, and the remainder from the oyster shells that will emerge in water is bad for the plumbing.
Footstep 4: Creating The Cleaning Solution
In one case you lot accept advisedly stored the oyster shells, it is time to create the cleaning solution. Mix equal parts of bleach and h2o into a bucket to create the solution.
Make sure the bleach tin can cover all the oyster shells in the saucepan; here are some pointers to consider while creating the solution:
- Brand sure y'all dilute the bleach well; otherwise, it can impairment the structure of the shells.
- The quantity of the bleach will change according to the number of shells that are supposed to be cleaned.
- If you are sensitive or allergic to bleach, do non use it. You can move forward with using vinegar. Mix equal amounts of both the ingredients in a bucket.
Here is the link to a study discussing the sanitizing backdrop of bleach.
Step five: Soaking The Oyster Shells Into The Solution
Once the solution is prepared, you lot need to movement forward with soaking the oyster shells into the solution to sanitize them. Here are the steps you need to follow:
- Take your oyster shells, place them carefully into the bucket with the bleach solution.
- Leave them in the bucket for at least one hour; y'all tin can also get dipping the shells for 24 hours.
- Once you lot are done with the dipping, remove the bleach solution advisedly out from the bucket.
- Use a colander to keep the oyster shells within the bucket.
Precautions To Accept While Dipping The Oysters
Bleach is ane of the strongest materials to deal with, it'due south actually pretty effective for cleaning coffee makers as well. Thus ane has to be conscientious while using it. If you are allergic to it, practise not use it at whatever toll, you lot can use vinegar instead.
Here are the precautions to accept while dipping the oysters:
- Practice not get out the oysters for more than 24 hours inside the bucket; it will dethrone the quality of the shells.
- Since you are dealing with bleach, do not forget to habiliment protective gloves to protect your pare.
Step vi: Scrubbing And Cleaning Of The Oyster Shells
In one case the dipping is over, and the oyster shells are completely sanitized, it is time to scrub and make clean the oyster shells. Here are the steps that you lot need to follow:
- Take a saucepan and add some h2o to it. Now mix some dish soap and mix the ingredients well.
- Now have a hard bristle toothbrush, dip it into the soapy solution and scrub the exterior and inside oyster shells. Do not scrub too difficult.
- Once the oyster beat is completely make clean, identify information technology under running water and cringe it well.
- Let the oyster shells out to air dry out on a piece of a microfiber towel.
- In one case the oyster shells are completely dry out, put some infant oil on them for a shine and lustrous wait.
Other Pointers:
Here are some other pointers that you might consider while cleaning the oyster shells:
- If there are pasty particles on the shells, you tin can apply a arts and crafts knife to remove them.
- If you lot do non have running water, yous tin can besides dip the shells into a bucket of water for a few hours.
- Lay it downwards a clean concrete, and prefer sunlight drying, as information technology improvises the look of the oyster shells.
- If you do not take baby oil, y'all tin can as well utilise mineral oil to shine.
- Make sure the oil is completely dried before you start using them.
Frequently Asked Questions
Will Information technology Be Condom To Reuse Oyster Shells?
The answer is absolutely yes; in fact, at that place is a law that allows restaurants to use oyster shells for different purposes. They are completely safety to be used as a piece of craft or a plate while eating in the kitchen, but make sure they are completely clean and sanitized before yous start using them.
Can I Boil Oyster Shells During Cleaning To Sanitize Them?
No, you can bring the temperature of the water close to boiling, but yous cannot place the shells into complete boiling water. It volition impairment the surface of the shell. Thus the respond to tin I boil oyster shells during cleaning to sanitize them, is a complete no.
Conclusion
Reusing the oyster shells is a huge contribution to waste management, peculiarly from the restaurants' side. If you lot are looking for a larger quantity of oyster shells for a low price, y'all tin can recollect a restaurant and ask them if they can provide yous with the waste oyster shells. Then, you can use the higher up-defined method to make clean and sanitize them and use them in the way you want.

Source: https://cleanerwiki.com/how-to-clean-oyster-shells-crafts/
Posted by: klausalearright.blogspot.com
0 Response to "How To Clean Oyster Shells For Decoration"
Post a Comment